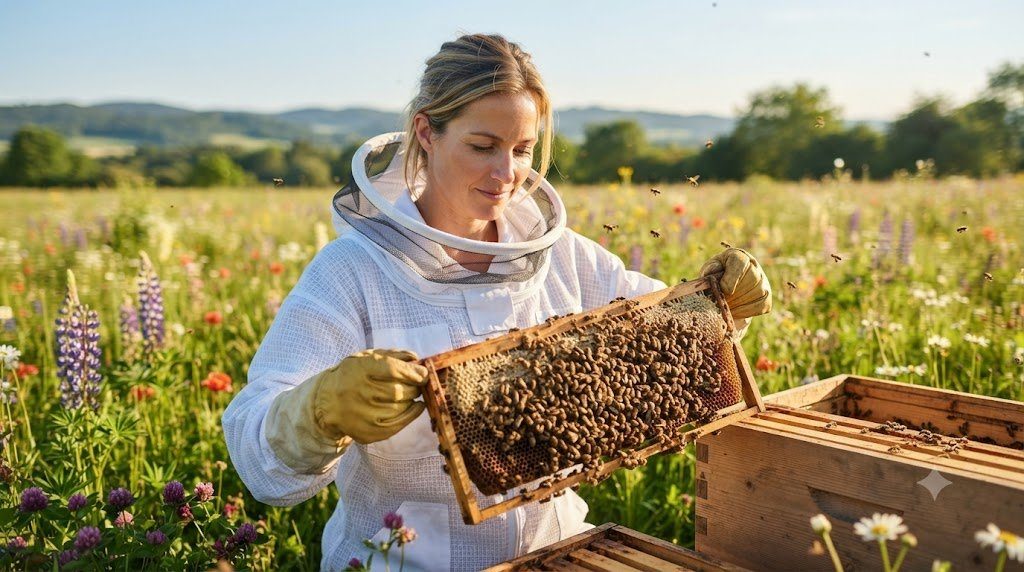
The movable wooden frame is the fundamental structural unit of the Langstroth hive. Over a 10-year service life, a single deep brood frame or medium honey frame will be pried loose from sticky propolis bonds hundreds of times with a steel hive tool, carry up to 10 pounds (4.5 kg) of dense capped honey and brood at a softening nest temperature of 35°C, and endure intense radial G-forces spinning at 300 RPM inside a centrifugal extractor.
If a frame is hastily assembled with staples alone and zero wood glue, the top bar inevitably rips completely off the sidebars the first time you lever a heavy propolized honey frame upward—dropping 9 pounds of bees, honey, and potentially your queen onto the ground! Equally critical, if plastic foundation is inserted dry without a rich heavy coating of pure beeswax, or if pure wax foundation is installed without properly tensioned 28-gauge stainless steel support wires, the colony will draw hideous bridging ‘wonky comb’ or suffer catastrophic comb slump in summer heat. Here is the definitive carpentry and foundation physics manual for building indestructible frames.
Frame Carpentry: Wedge-Top vs. Grooved-Top and Glue-Plus-Staple Shear Strength
Precision-milled Eastern White Pine frames come in two primary top-bar and bottom-bar configurations, specifically engineered to pair with different types of foundation:
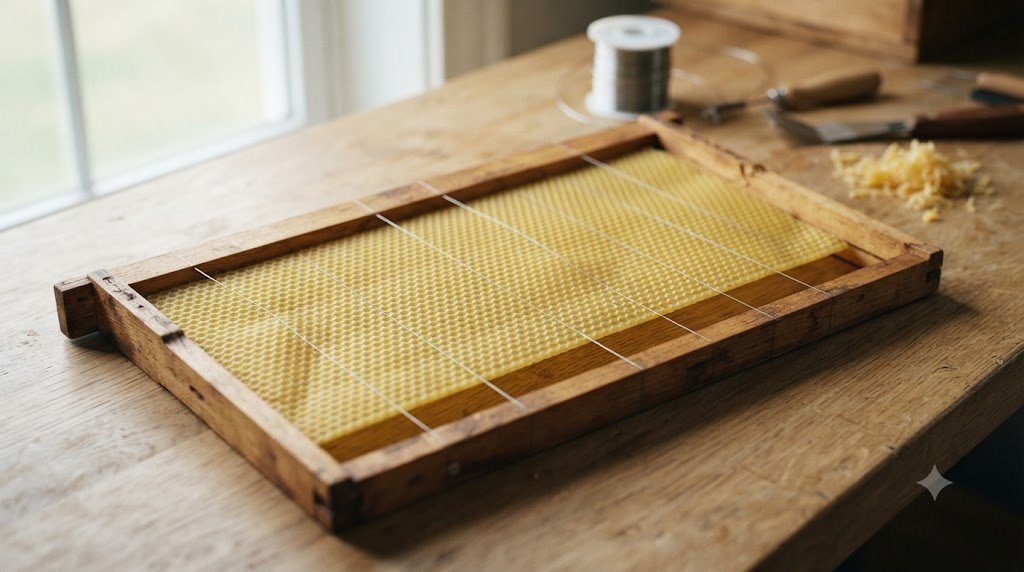
- Wedge-Top Bar + Split/Two-Piece Bottom Bar: Designed specifically for Pure Milled Beeswax Foundation (wired or unwired) and foundationless starter strips. One longitudinal strip of the top bar snaps out as a wooden cleats wedge; you slip the top hook edge of the beeswax foundation into the recess and nail or staple the wooden wedge horizontally right into the face of the top bar, clamping the wax sheet securely against gravity.
- Grooved-Top Bar + Grooved One-Piece Bottom Bar: Designed for Snap-In Food-Grade High-Density Polyethylene (HDPE) / Polystyrene Plastic Foundation. The plastic sheet snaps rapidly into the top and bottom CNC-routed grooves without requiring nails in the wedge.
Why PVA Wood Glue + Pneumatic Crown Staples Is Mandatory
In wood engineering, metal nails or staples driven into end-grain pine have very low pull-out resistance once moisture cycling loosens the wood fibers. Before driving a single fastener, apply a continuous bead of Waterproof Aliphatic Resin PVA Glue (Titebond II or Titebond III) into both the upper locking dado ears of the sidebars and the lower bottom-bar mortises. Drive two 1-1/4 inch 18-gauge narrow-crown staples vertically down through the top bar into the sidebar shoulders, and crucially drive one 3/4-inch staple horizontally through the neck of the sidebar into the end of the top bar (cross-pinning the joint). A cross-pinned, glued frame joint can withstand over 180 pounds of vertical prying force without separating!
Whenever wiring wooden frames horizontally with 28-gauge stainless steel wire, ALWAYS tap small flanged brass eyelets into the pre-drilled holes of the pine sidebars before threading the wire! Without brass eyelets, pulling the thin steel wire to guitar-string tension slices straight along the vertical grain of the soft pine wood, causing immediate wire slack and sagging comb.
Comparative Engineering of Hive Foundation Substrates
Every foundation substrate involves a balance between natural bee acceptance, chemical residue cleanliness, durability in the extractor, and assembly time. Review the technical specifications below before outfitting your supers and brood chambers.
| Foundation Type | Material Composition | Bee Acceptance Rate | Extractor Blow-Out Resistance | Assembly Labor | Best Clinical & Production Application |
|---|---|---|---|---|---|
| 100% Pure Crimp-Wired Beeswax | Pure milled beeswax + 9 vertical steel hooks | 100% Instant (Natural substrate) | High when cross-wired horizontally | High (Wedge nailing + embedding) | Brood nest, queen rearing, and organic honey yards |
| Unwired Thin Surplus Beeswax | Ultra-thin virgin white cappings wax | 100% Instant (Tender chewable midrib) | Low (Not meant for spinning!) | Moderate (Wedge or split frame) | Cut-Comb, Ross Rounds, and artisanal chunk honey |
| Heavy-Waxed Plastic (Pierce/Acorn) | Food-grade HDPE coated w/ 100% beeswax | 95% (When double-coated w/ real wax) | Maximum (Indestructible at 350 RPM) | Very Fast (3 seconds snap-in) | Commercial honey supers & high-speed radial extraction |
| One-Piece Molded Plastic Frame | Injection-molded plastic frame + midrib | 85%–90% (Must roll extra hot wax on) | Maximum (Zero wood joints to break) | Zero (Ready out of carton; heavy) | Migratory commercial operations; watch ear flex in heat |
| Foundationless Starter Strip | 15mm wooden spline or wax strip at top | 100% during active nectar flow | Low until wired or fully attached | Fast (Requires level hive stand) | Natural comb turnover, drone trapping, crush-and-strain |
Horizontal Wiring & Electric Resistance Embedding Mechanics
If you choose pure beeswax foundation for your brood boxes or radial honey supers, vertical crimped wires factory-embedded in the wax sheet prevent the wax from stretching downward, but they do not prevent the sheet from bowing or bellying outward to the left or right unless anchored by horizontal 28-gauge (0.32 mm) 304 stainless steel frame wires:
- Threading and Crimping to ‘Pluck’ Tension: Mount the glued wooden frame inside a spring-loaded wiring jig (which Slightly bows the two sidebars inward by 3 mm). Thread 28-gauge stainless wire continuously through the 4 brass-eyeletted holes (2 holes for medium frames), wrap the terminal end around a 3/8-inch frame tack driven into the sidebar edge, pull the slack tight, and release the jig clamp. As the sidebars spring back outward, the four horizontal wires tighten until they emit a crisp musical ‘ping’ when plucked—or run a corrugated brass wire crimper wheel along each span to add tension.
- 12V DC Electric Resistance Embedding: Lay the sheet of pure beeswax foundation flat over the horizontal wires on an embedding board (ensuring the vertical factory hooks sit behind the top bar wedge, and alternating the sheet between the horizontal wires if desired). Touch the two copper electrodes of a 12-Volt DC 2-Amp transformer (or automotive battery charger) to the two ends of the stainless wire for exactly 2 to 3 seconds. Resistive Joule heating ($P = I^2 R$) instantly warms the steel wire to 63°C, melting it cleanly into the center of the beeswax midrib; lift the electrodes while holding gentle downward finger pressure on the wax for 3 seconds until the melted wax resolidifies around the wire!
Why Bees Reject Bare Plastic Foundation—and How to Roll On Pure Cappings Wax
Ask any frustrated beginner why their bees built weird floating combs bridging two frames of black or yellow plastic foundation instead of drawing out the embossed hexagons, and the answer is almost always the same: insufficient beeswax coating! Honey bees cannot chew or pull up hard polyethylene plastic to start cell walls; they rely on scraping and molding the surface layer of pure beeswax rolled onto the plastic cell rims during manufacturing. Budget plastic foundation—or foundation that has sat in a hot warehouse for two years—has a microscopic wax film that bees treat like a foreign plastic wall.
Before placing ANY plastic foundation into a hive, melt 1 pound of clean, golden 100% pure cappings beeswax in a dedicated thrift-store crockpot or electric skillet kept strictly at 70°C to 75°C (158°F–167°F) (never overheat beeswax on an open stove burner, as wax flashes above 204°C!). Dip a 4-inch foam paint roller into the molten beeswax and roll a generous, glistening extra coat across both faces of the plastic foundation—paying special attention to the cell edges and corners. Bees handed heavily double-waxed plastic foundation during a nectar flow will draw out 10 flawless combs in 5 days!
Solar Wax Melters vs. Steam Wax Extractors: Rendering Golden Cappings Bullion
A well-managed apiary produces 1.5 to 2.5 pounds of high-value pure beeswax for every 100 pounds of extracted honey—worth $10 to $18 per pound for coating plastic foundation, dipping woodenware, molding queen cups, or crafting artisanal candles and lip balms. However, beeswax has an exact melting point of 62°C to 64°C (144°F–147°F), begins discoloring brown if heated above 85°C (185°F) or exposed to iron/copper/hard high-calcium water, and has an explosive flash point at 204.4°C (400°F)!
To render snow-white and lemon-gold cappings wax safely without ever putting wax over an indoor kitchen stove burner, build a Double-Glazed Solar Wax Melter:
- Insulated Black Box + Twin-Wall Polycarbonate Glazing: Construct an insulated plywood box painted flat matte-black inside, tilted at 30 to 40 degrees toward the midday sun, and topped with a tight-sealing double-paned glass or twin-wall polycarbonate greenhouse lid.
- Passive 75°C–82°C Greenhouse Melting: On any sunny 25°C (77°F) summer day, the interior of the solar melter passively reaches 78°C. Wet wax cappings or culled burr comb placed in an upper stainless steel perforated basket melt slowly down an inclined stainless chute through a layer of cheesecloth/paper towel filter, dripping crystal-clear molten golden wax into a bread loaf pan containing 1 inch of rainwater below (where any dark pollen/slumgum sinks into the water while pure 0.96 g/cm³ beeswax solidifies into a pristine cake on top!).
Annual Equipment Maintenance, Sanitization, and Tool Ergonomics
Apicultural hardware operates in one of the most chemically and mechanically demanding environments in agriculture: sticky antimicrobial propolis glues steel and wood together at temperatures below 15°C and turns tacky above 30°C; acidic honey (pH 3.8) attacks unpassivated metals; and high-temperature smoker pyrolysis deposits creosote tar inside nozzles and hinges. Establishing a disciplined End-of-Season Hardware Sanitization & Winter Workshop Routine extends equipment lifespan by decades while preventing pathogen transfer between seasons.
| Equipment Category | Primary Fouling / Wear Agent | Approved Cleaning & Sanitization Solvent | Storage & Preventative Maintenance |
|---|---|---|---|
| 3-Layer Ventilated Suits & Veils | Venom isoamyl acetate, propolis, sweat | Cold/warm gentle wash w/ unscented detergent; isopropyl alcohol on propolis spots | Always detach veil and hand-wash screen; hang dry in shade (Zero bleach or dryer heat!) |
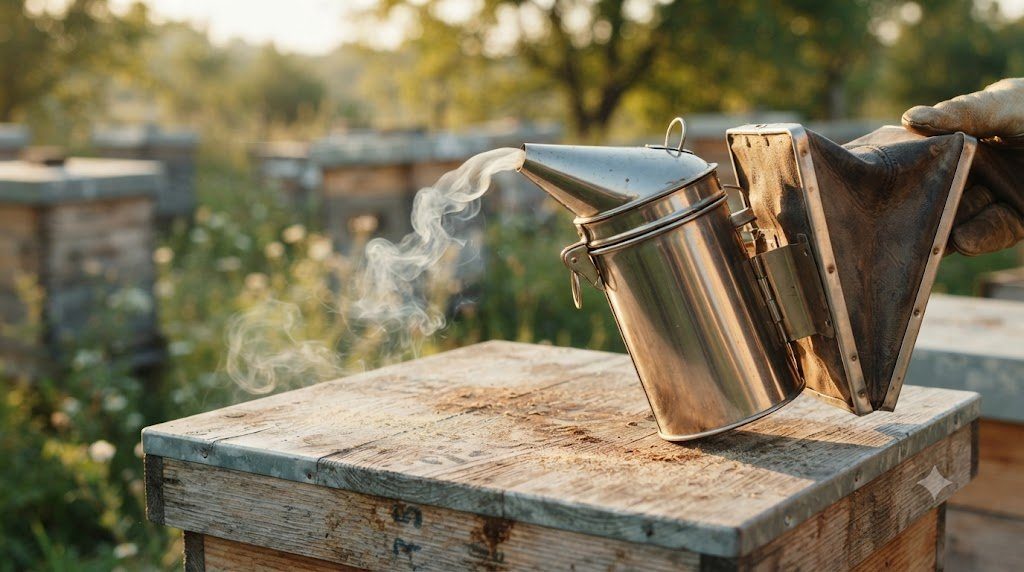
| Stainless Steel Bee Smokers | Creosote tar around lid rim; clogged bottom grate | Scrape cold creosote with hive tool; soak grate in washing soda (sodium carbonate) | Store indoors out of rain; condition leather bellows annually with neatsfoot oil |
| Steel Hive Tools (J-Hook / Flat) | Propolis, wax, potential AFB endospores | Flame-scorch blade in smoker coals + scrub w/ 91% rubbing alcohol or 10% bleach | Paint handle safety-orange or blaze-yellow so dropped tools are visible in tall grass |
| 304 Stainless Extractors & Tanks | Water-soluble honey + hydrophobic wax flecks | Flush w/ high-pressure COLD water first; wash w/ warm food-grade detergent + air dry | Lubricate bottom nylon/bronze bushing only w/ NSF H1 food-grade white mineral grease |
| Queen Excluders (Welded Wire) | Heavy bridge wax & propolis blocking 4.17mm gap | Freeze at -18°C overnight then snap brittle wax off w/ wire excluder scraper tool | Store flat on a level shelf (Hanging bent wire excluders widens gaps and lets queens pass!) |
Selecting the Right Hive Tool: Classic Flat vs. Italian J-Hook vs. Frame Grip
Walk up to any commercial beekeeper’s truck and you will find three distinct steel leverage instruments, each engineered for a specific mechanical task at the hive:
- The 10-Inch Standard Flat (Kelly) Hive Tool: Features a wide, flat ground chisel blade on one end for sliding horizontally between propolized super seams and scraping bottom boards, paired with a 90-degree bent scraper hook on the opposite end. It excels at heavy box separation and propolis cleaning without denting soft pine frame ears.
- The Italian J-Hook Frame Lifter Tool: Features a sharpened Curved J-hook with a beveled fulcrum pivot tooth. By hooking the tip of the ‘J’ beneath the frame ear lug to be lifted while resting the pivot tooth on top of the adjacent frame shoulder, pressing down on the handle converts your hand motion into a smooth 5:1 vertical mechanical jack—lifting the tightest propolized frame straight up without twisting your wrist!
- Spring-Loaded Cast Aluminum/Stainless Frame Grips: Clamps onto the center of the wooden top bar like a mechanical hand, allowing one-handed frame lifting when holding a smoker or queen-marking cage in your other hand.
Because propolis consists of 50% lipophilic plant flavonoid resins and 30% beeswax, soap and water alone merely smear sticky propolis across your hands! Keep a spray bottle of 91% Isopropyl Alcohol (rubbing alcohol) or a tub of Washing Soda (Sodium Carbonate, pH 11.5) in your honey house: alcohol dissolves sticky propolis resins on contact in 3 seconds, leaving hands and stainless steel spotless!
Frequently Asked Questions: Suits, Smokers, Frames, and Extractors
Why do bees keep stinging through my ankle socks even when wearing a full suit?
When bees are shaken off frames or bumped during an inspection, hundreds of disoriented older bees fall onto the grass around your boots. Honey bees possess a hardwired negative gravitaxis reflex: when dropped on the ground, they immediately walk upward in search of dark crevices—climbing straight over low top shoes and stinging through thin cotton athletic socks where the Achilles tendon stretches the fabric tight! Always wear tall leather or Muck/Wellington boots and pull the elastic ankle cuffs and stirrup straps of your bee suit down over the outside of the boot shaft.
Can I use a standard kitchen toaster-oven or hair dryer to uncap honey frames?
While a commercial electric heat gun (held 6 inches away and swept rapidly across the comb face for 2 seconds) can melt thin virgin wax cappings open through thermal expansion of the tiny air pocket trapped beneath each capping, prolonged hot air blows molten wax droplets into the honey and risks overheating the surface layer. For 5 to 50 hives, a cold serrated knife paired with a stainless steel cappings scratcher fork (or a thermostatic electric uncapping plane) produces cleaner combs and yields valuable pure wax cappings.
How do I stop my honey extractor from ‘walking’ and vibrating across the floor?
Even a radial extractor loaded with 18 frames will vibrate violently during the initial 60 seconds of spinning if three heavy 7-pound frames sit on one side of the reel while three light 3-pound frames sit opposite them! Always weigh frames by hand as you uncap them and load frames of equal weight directly across from each other (180 degrees opposite, or in balanced 120-degree triads). Additionally, bolt the extractor legs to a 4×4-foot sheet of 3/4-inch marine plywood resting on thick rubber anti-vibration pads so your own foot weight standing on the plywood platform anchors the drum solidly in place.